Step One
After we bought the equipment, Mum cut the foam balls in half. Step 2:
Then I cut Saturn's rings from a piece of felt and I'm gonna stick it out side of one of the foam balls.
Step 2:
Then I cut Saturn's rings from a piece of felt and I'm gonna stick it out side of one of the foam balls.

Step:3
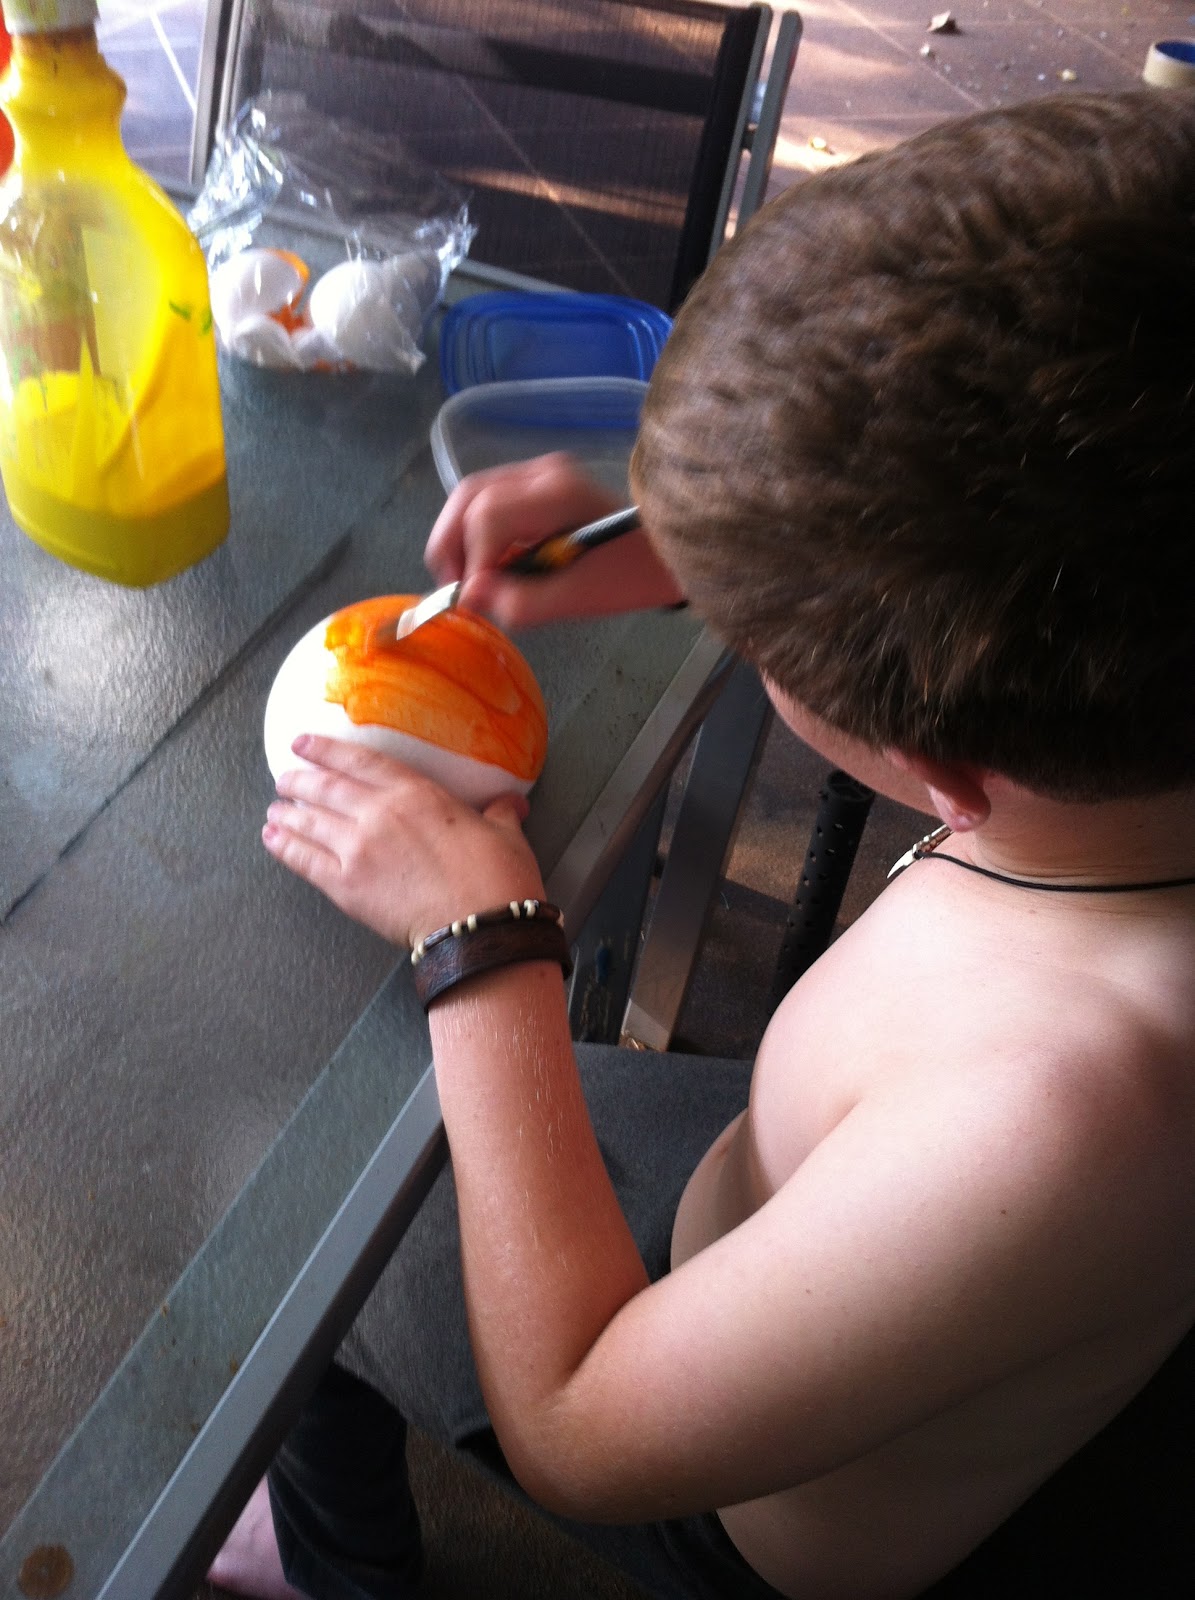
Now I'm painting the planets so they're the right colours.(I'm lucky I can borrow the paint from Mum's school).
We had trouble trying not to get our fingers covered in paint so we used a stick to hold it down.
Step 4
Learning about the Solar System
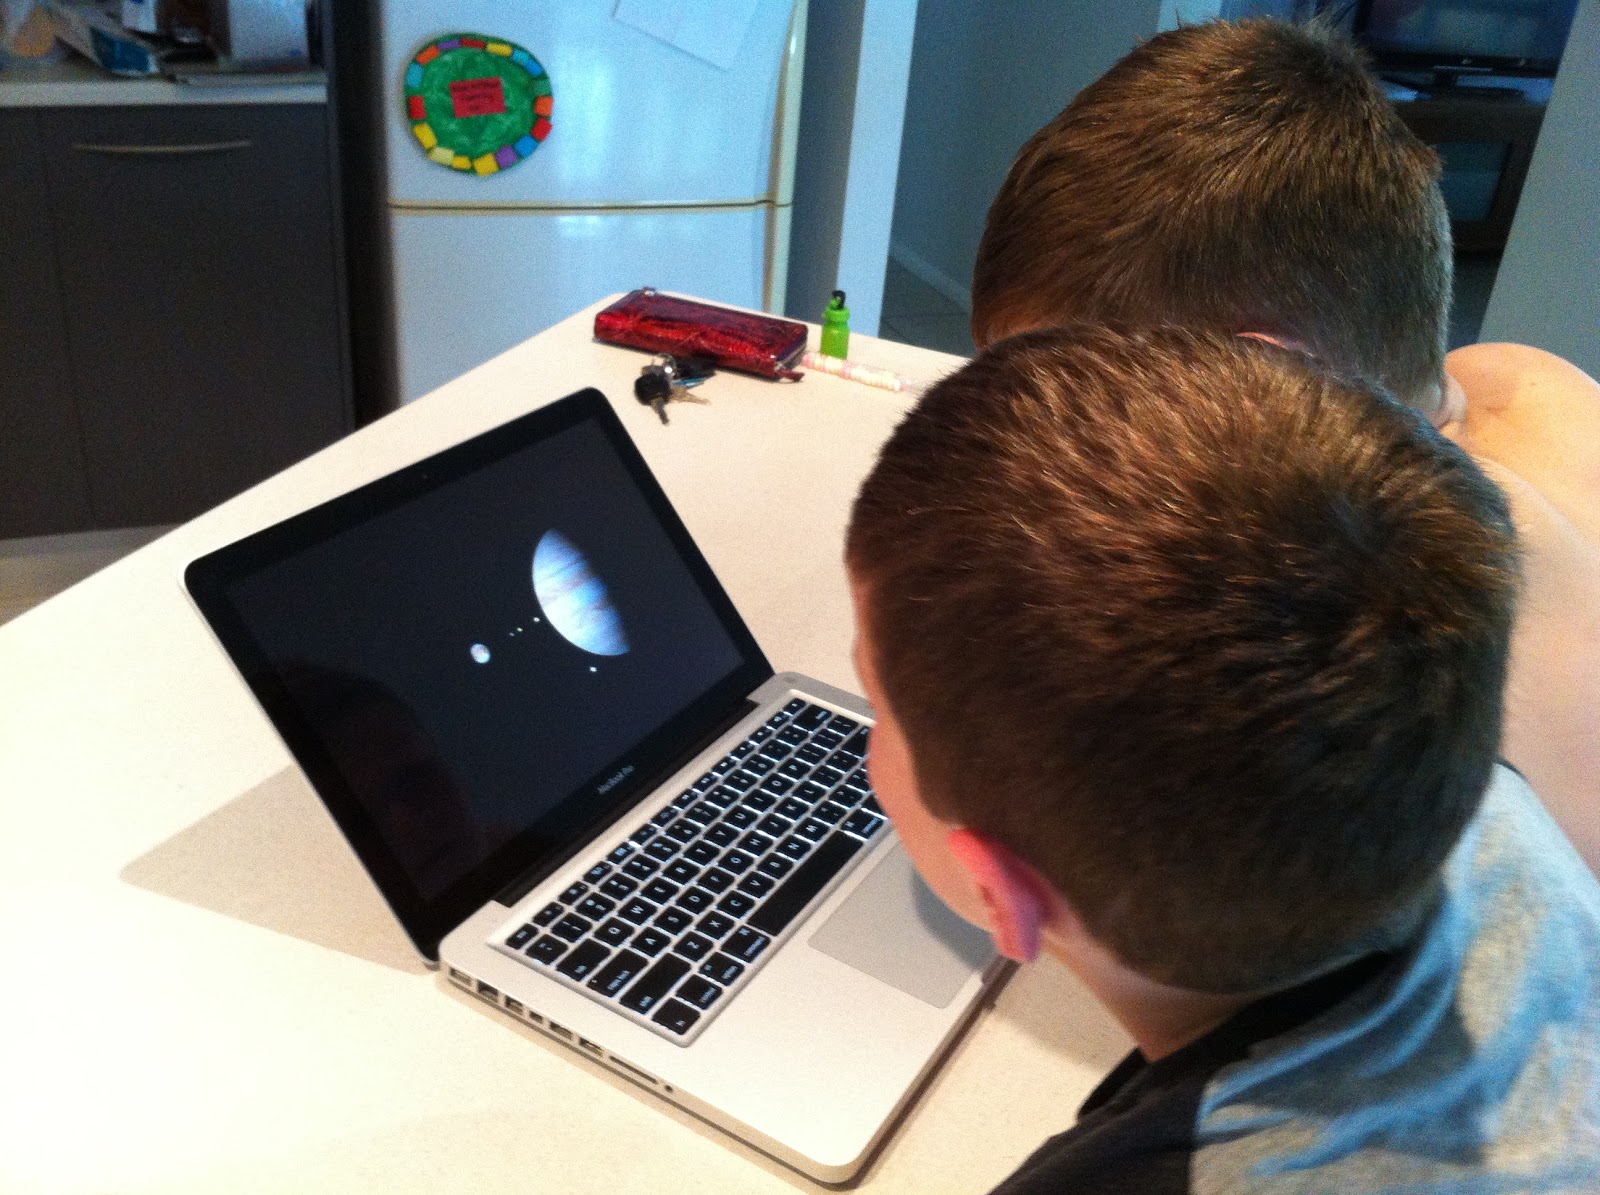
Today we looked on YouTube and found a video that showed me how big the Sun is, and how far away the other planets are from the Sun. Charlie and I couldn't believe how small Earth is compared to the sun.
The video even showed us planet moons. This one is Jupiter and one of its moons.
Here is Saturn and it's rings. The maker of this film used pictures he found on NASA's website, so it looked really real!
Then we looked at another YouTube video which showed us our Solar System, and the Milky Way. The Milky Way is a galaxy, one that goes round and round in a spiral. Our Solar System is one really small spot on one of the arms of the Milky Way. The arm is called Orion's Art.
Check out these other stars or suns in our solar systems in the Milky Way. They are HEAPS bigger than our sun.
Step 5
Working out the Scale
We worked out that our model Sun had to be the size of a
100 &1000s (sprinkle) to fit the scale of my canvas! Can you see the yellow 100 & 1000 next to our painted foam sun? We decided to make the planets and Sun bigger so we can see the planets. We have made sure that the planets are the right sizes.
We found this website and it showed me how far away the planets have to be from each other. If our Sun was the size of the foam ball we had chosen to be the sun, we would need a canvas the size of the rugby field! The Solar System is THAT big!
After we chose a size of a 100 & 1000 as the Sun, we did some decimal work to make sure the planets would be on the right orbits. Look at my working below.
After working out the scale of the orbits in centimetres, I worked out where the planets would go.
I put the planets in order before I drew the orbit paths.
I measured the canvas to figure out where the planets and their orbits would go.
I'm using a measuring tape to draw where the orbit will start.
Now I'm gluing the Sun down so I know where to measure from.
I uses a compass to draw the orbits, and then when over it with a white pencil so you can see it on the black canvas.
The orbits near the sun are REALLY close together and I couldn't fit the planets on the canvas in a straight line like I wanted to. I put the planets on different places on their orbit lines. This is what the model would looks like.
Now I'm gluing the planets down on their orbits.